How to Design a Custom Photo Booth Layout for Your Mitzvah
Start with the purpose of each photo
A mitzvah photo booth does more than just take pictures. It captures the energy of the celebration and gives guests a fun activity that fits naturally into the reception timeline. When you design a custom photo booth, the first step is to decide what you want the prints and digital files to do. Do you want them to serve as guest book entries? Do you want each guest to leave with a keepsake print that matches your theme? Or do you want the booth to encourage formal portraits that families can keep for years? Each goal changes the layout choices you make.
The direct answer is that a well-designed custom photo booth includes a clear visual theme, a thoughtful print layout, and options for digital sharing. The details behind that answer involve the backdrop, the overlay on each photo, the way guests interact with the booth, and how the prints fit into your overall event. Working from these elements gives you a booth that feels personal and runs smoothly.
Define your visual theme first
The theme of your mitzvah sets the tone for the entire celebration. Your photo booth should echo that theme without copying it exactly. If your event has a color palette, use those colors in the backdrop and the custom overlay on each print. If the mitzvah has a specific motif - a favorite sport, a hobby, or a cultural element - bring that into the booth design through props and background choices.
A common mistake is to make the booth design too busy. The backdrop should complement the photos, not compete with them. Solid colors, subtle patterns, or simple gradients work well because they keep the focus on the people in the frame. For a mitzvah, you might choose a backdrop that matches the party's main color while adding a small element like a star or a geometric shape that ties to the invitation design. This keeps the photos clean and timeless while still feeling custom.
Plan the print layout for keepsakes
The print layout is where the booth becomes a true keepsake. A standard photo strip shows a sequence of poses, but a custom layout can include the event date, the child's name, a short message, or a design element that matches the mitzvah theme. The layout should leave room for the photos themselves to be the main attraction. Too much text or too many graphics make the print feel cluttered.
Think about the size of the print and how guests will use it. A typical keepsake print is about 2x6 inches for a strip, but some booths offer larger square prints or a single large image with a border. The layout should also consider the orientation - vertical strips are classic, but horizontal layouts can feel modern and work well for group shots. For a mitzvah, you might want a layout that includes a small area at the bottom where guests can write a note, turning each print into a guest book entry later.
Choose the right backdrop and props
The backdrop and props are the most visible parts of the booth. They set the mood and encourage guest participation. For a mitzvah, props should be age-appropriate and match the theme. Kids and teens enjoy silly props like oversized glasses, funny hats, and signs with puns. Adults appreciate props that are clever but not too childish. A mix of both keeps everyone engaged.
The backdrop should be easy to photograph against. Fabric backdrops in a solid color or a simple pattern are reliable. Sequin or glitter backdrops add texture but can create glare under studio lights. Green screens are another option, but they require careful lighting to look natural. If you choose a green screen, test it with your booth's lighting setup before the event. A bad green screen shot looks fake and disappoints guests.
Incorporate digital sharing for wider reach
Digital sharing extends the life of your mitzvah photos beyond the event. Many photo booth services offer a way for guests to text or email their photos to themselves. Some also create a digital gallery where all the photos from the event appear. This is especially useful for mitzvahs because family members who could not attend can still see the fun.
When designing your custom overlay, include a simple hashtag or event name that guests can use when posting. But keep the overlay clean - a small logo or the event date in a corner is enough. Too much branding makes the photo look like an advertisement. The goal is to make the photo look like a memory, not a marketing piece.
For digital sharing, the booth should also allow guests to choose between sending a copy to themselves and printing a copy. Some guests prefer to save a digital file and skip the print, especially if they are traveling. Having both options ensures everyone leaves happy.
Coordinate with the reception timeline
The photo booth should fit into the flow of the event without disrupting other activities. For a mitzvah, the booth often works best after the formal portraits and before the main meal, or during the open dance time. Avoid placing the booth in a high-traffic area where guests will block the path. A dedicated corner or a separate room works well.
Let the booth operator know the schedule so they can be ready when the crowd arrives. Some booths offer unlimited prints, while others have a set number per session. Matching the booth's capacity to your guest count prevents long lines. If you expect many guests, consider a booth that allows two or three people to pose at once rather than single shots only.
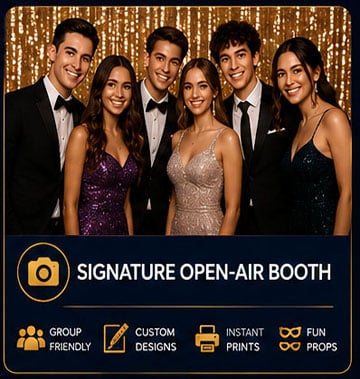
For mitzvahs, group shots are often the most popular. Friends want to pile into the frame together. Design the booth setup to accommodate groups of four to six people comfortably. This means a wider backdrop and a camera positioned to capture a full body or a half-body shot. A booth that only captures headshots will frustrate groups.
Use the booth as a guest book
A photo booth can double as a guest book, and this is one of the smartest customizations for a mitzvah. Guests take a photo, and the print includes a blank area where they write a note. These prints then go into an album or are mounted on a board. The result is a guest book that is visual and personal, not just a list of signatures.
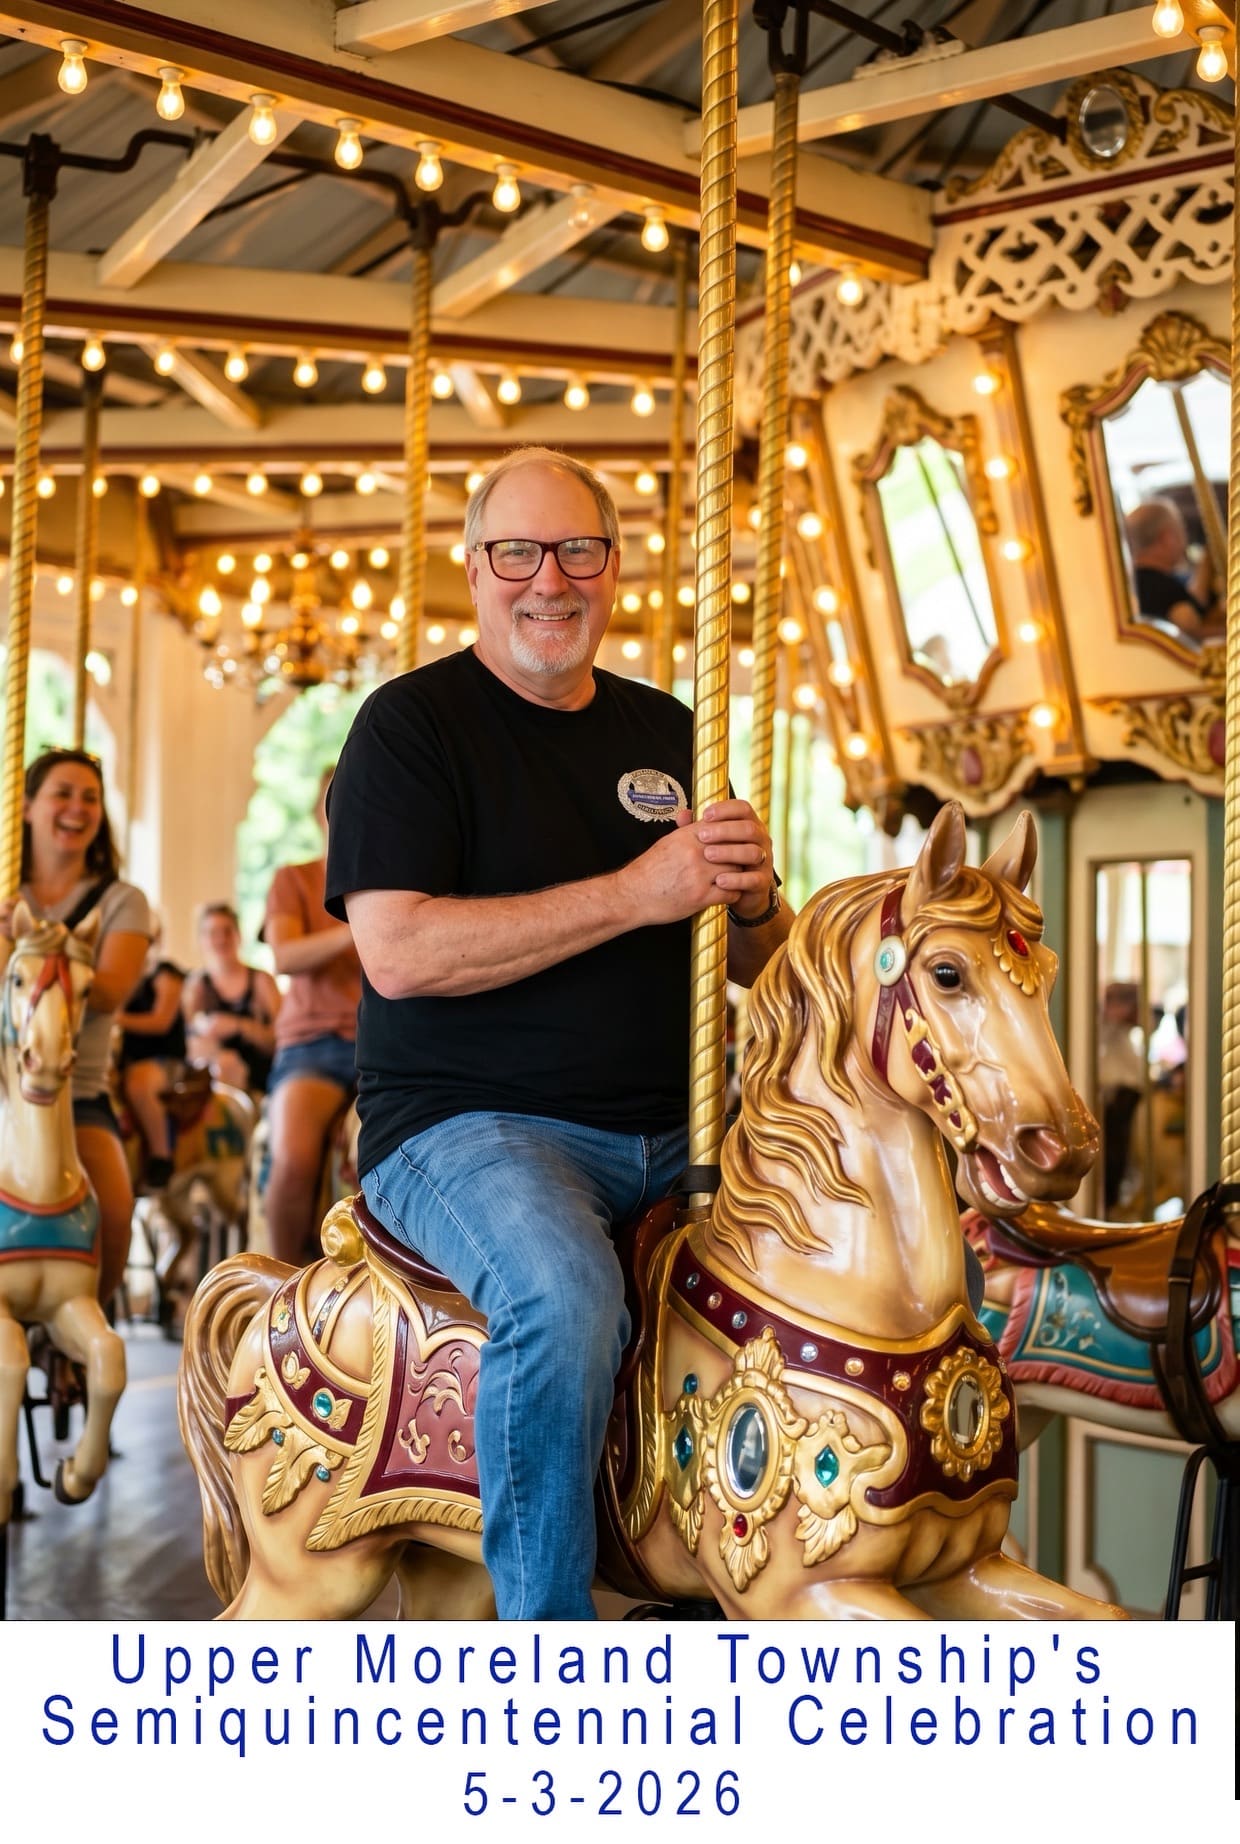
To make this work, the print layout must include a designated writing area. The booth should also have a station nearby with pens and instructions. Some booths offer a second print that is identical to the guest's copy, with the writing area pre-printed. This ensures each guest entry is consistent in size and placement.
Another option is to have the booth print two copies of each photo: one for the guest and one for the album. The album copy can have a larger writing area. This approach works well because guests keep their own print and still contribute to the guest book.
Consider the overlay design carefully
The custom overlay is the graphic that appears on top of each photo. For a mitzvah, the overlay should include the child's name and the date at minimum. You can also add a small design element like a star, a balloon, or a simple border. But keep it subtle. A heavy overlay that covers a large part of the photo will make the image less useful as a memory.
Work with your photo booth provider to see a mockup of the overlay before the event. Check how it looks on different types of photos: a close-up of two people, a full group shot, and a shot with props. Adjust the size and placement of the overlay elements so they do not cover faces. A good overlay is like a watermark - visible but not distracting.
For mitzvahs, some families choose overlays that match the invitation suite or the party decorations. This creates a cohesive look across all event materials. If you go this route, share the design files with the booth provider early so they can match colors and fonts.
One common mistake is to use too many decorative elements in the overlay. Each extra element adds visual noise. Stick to one or two design elements and let the photos speak for themselves. A clean overlay looks professional and ages well.
For more inspiration on what a mitzvah photo booth can look like, you can browse examples at extremephotobooths.com. Seeing real event photos helps you imagine how your own design choices will come together. This site shows how different backdrops, overlays, and print layouts work in actual celebrations, giving you ideas to discuss with your booth provider.
Test everything before the event
Before the mitzvah, test the entire booth setup. Take sample photos with the backdrop, lighting, and overlay you have chosen. Check that the print layout looks correct and that the digital sharing feature works. If the booth uses a custom overlay, make sure the text is spelled correctly and the date is right. Small errors like a misspelled name or wrong date ruin the keepsake.
Also test the booth with different group sizes. Make sure the camera captures everyone when four or five people stand together. Adjust the camera height and position if needed. A booth that only works for two people at a time will frustrate larger groups and slow down the line.
Check the lighting as well. Photo booth lighting should be even and flattering. Harsh shadows or dim light make guests look washed out. Most professional booths have studio-quality lighting, but it is worth confirming before the event. If the lighting seems off, ask the provider to adjust it or bring additional lights.
Finally, think about accessibility. Ensure the booth is easy to enter and exit, especially for guests who use wheelchairs or have mobility issues. A low platform or a step stool can help shorter guests, but make sure it is stable. The goal is for everyone to feel welcome and have fun.
Designing a custom photo booth for your mitzvah is about balancing creativity with practicality. Focus on a clear theme, a clean overlay, a print layout that serves your guest book or keepsake goals, and a setup that fits your reception timeline. With these elements in place, the photo booth becomes a highlight of the celebration rather than just a side attraction. You can find more detailed examples and planning tips at extremephotobooths.com to refine your vision before the big day.